Description:
Purpose:
Tools Required:
- Solder Iron & necessary components for soldering
Total Est Cost
~ $596.11
Part List
| Part | Cost | Links |
| RC Controller w/ receiver | $58.28 | link |
| Jumper wire connectors | $9.99 | link |
| PixHawk PPM Encoder | $17.49 | link |
| XT60 Plugs | $8.99 | link |
| Propellers | $16.99 | link |
| Anti-vibration plate | $7.79 | link |
| Quadcopter Frame | $21.99 | link |
| PixHawk Flight Controller | $189.99 | link |
| XT60 Connectors | $9.98 | link |
| XT60 Power Module | $13.68 | link |
| 4x 30 A Brushless ESC | $39.99 | link |
| Battery Checker | $13.99 | link |
| 920KV Brushless Motors | $39.99 | link |
| GPS PixHawk | $35.99 | link |
| 500mAh LiPo Battery | $53.99 | link |
| LiPo Charger | $56.99 | link |
Assembly
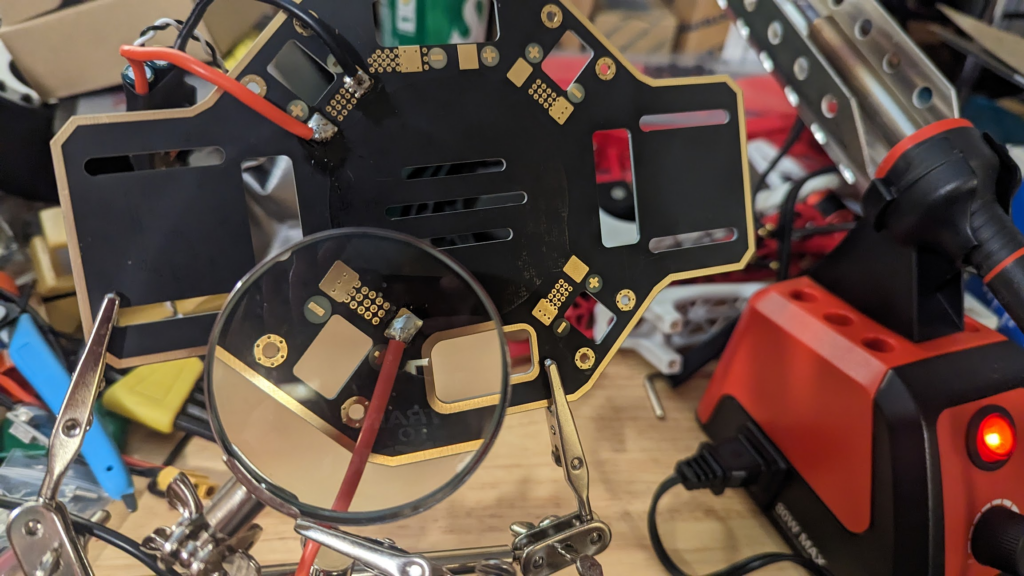
Solder the 30A ESCs to the main board with the positive/negative terminals
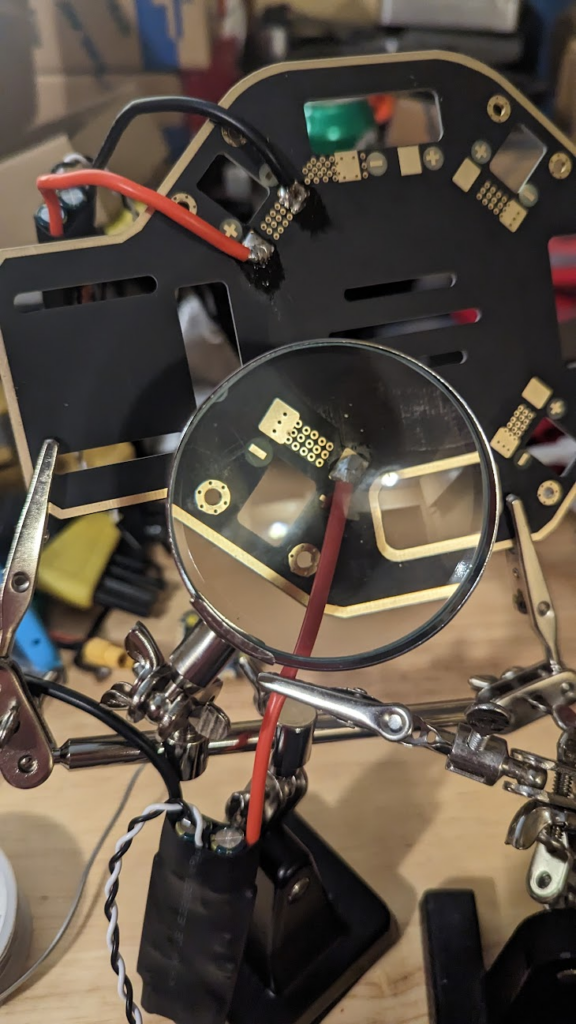
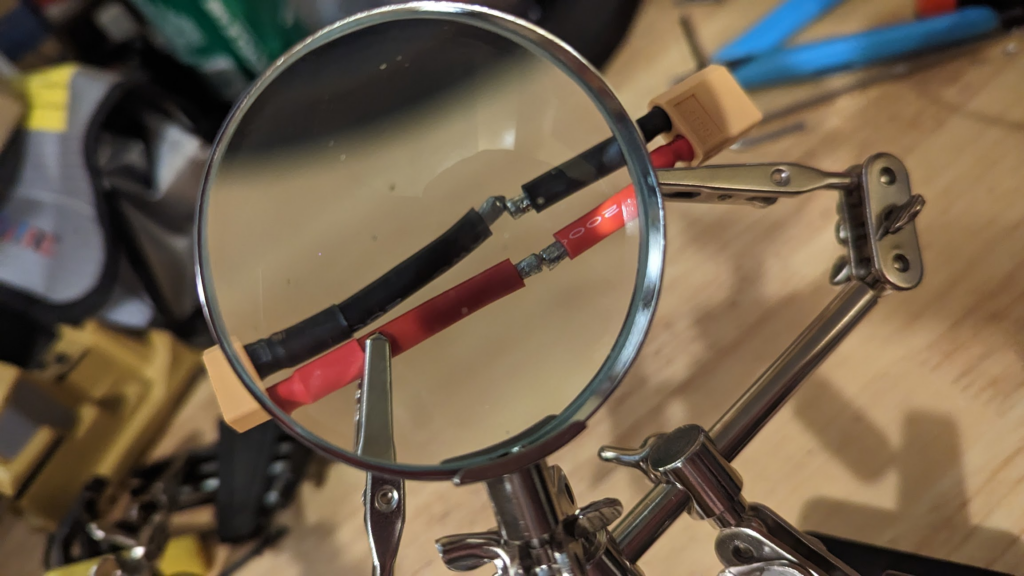
Solder two female XT60 plugs together
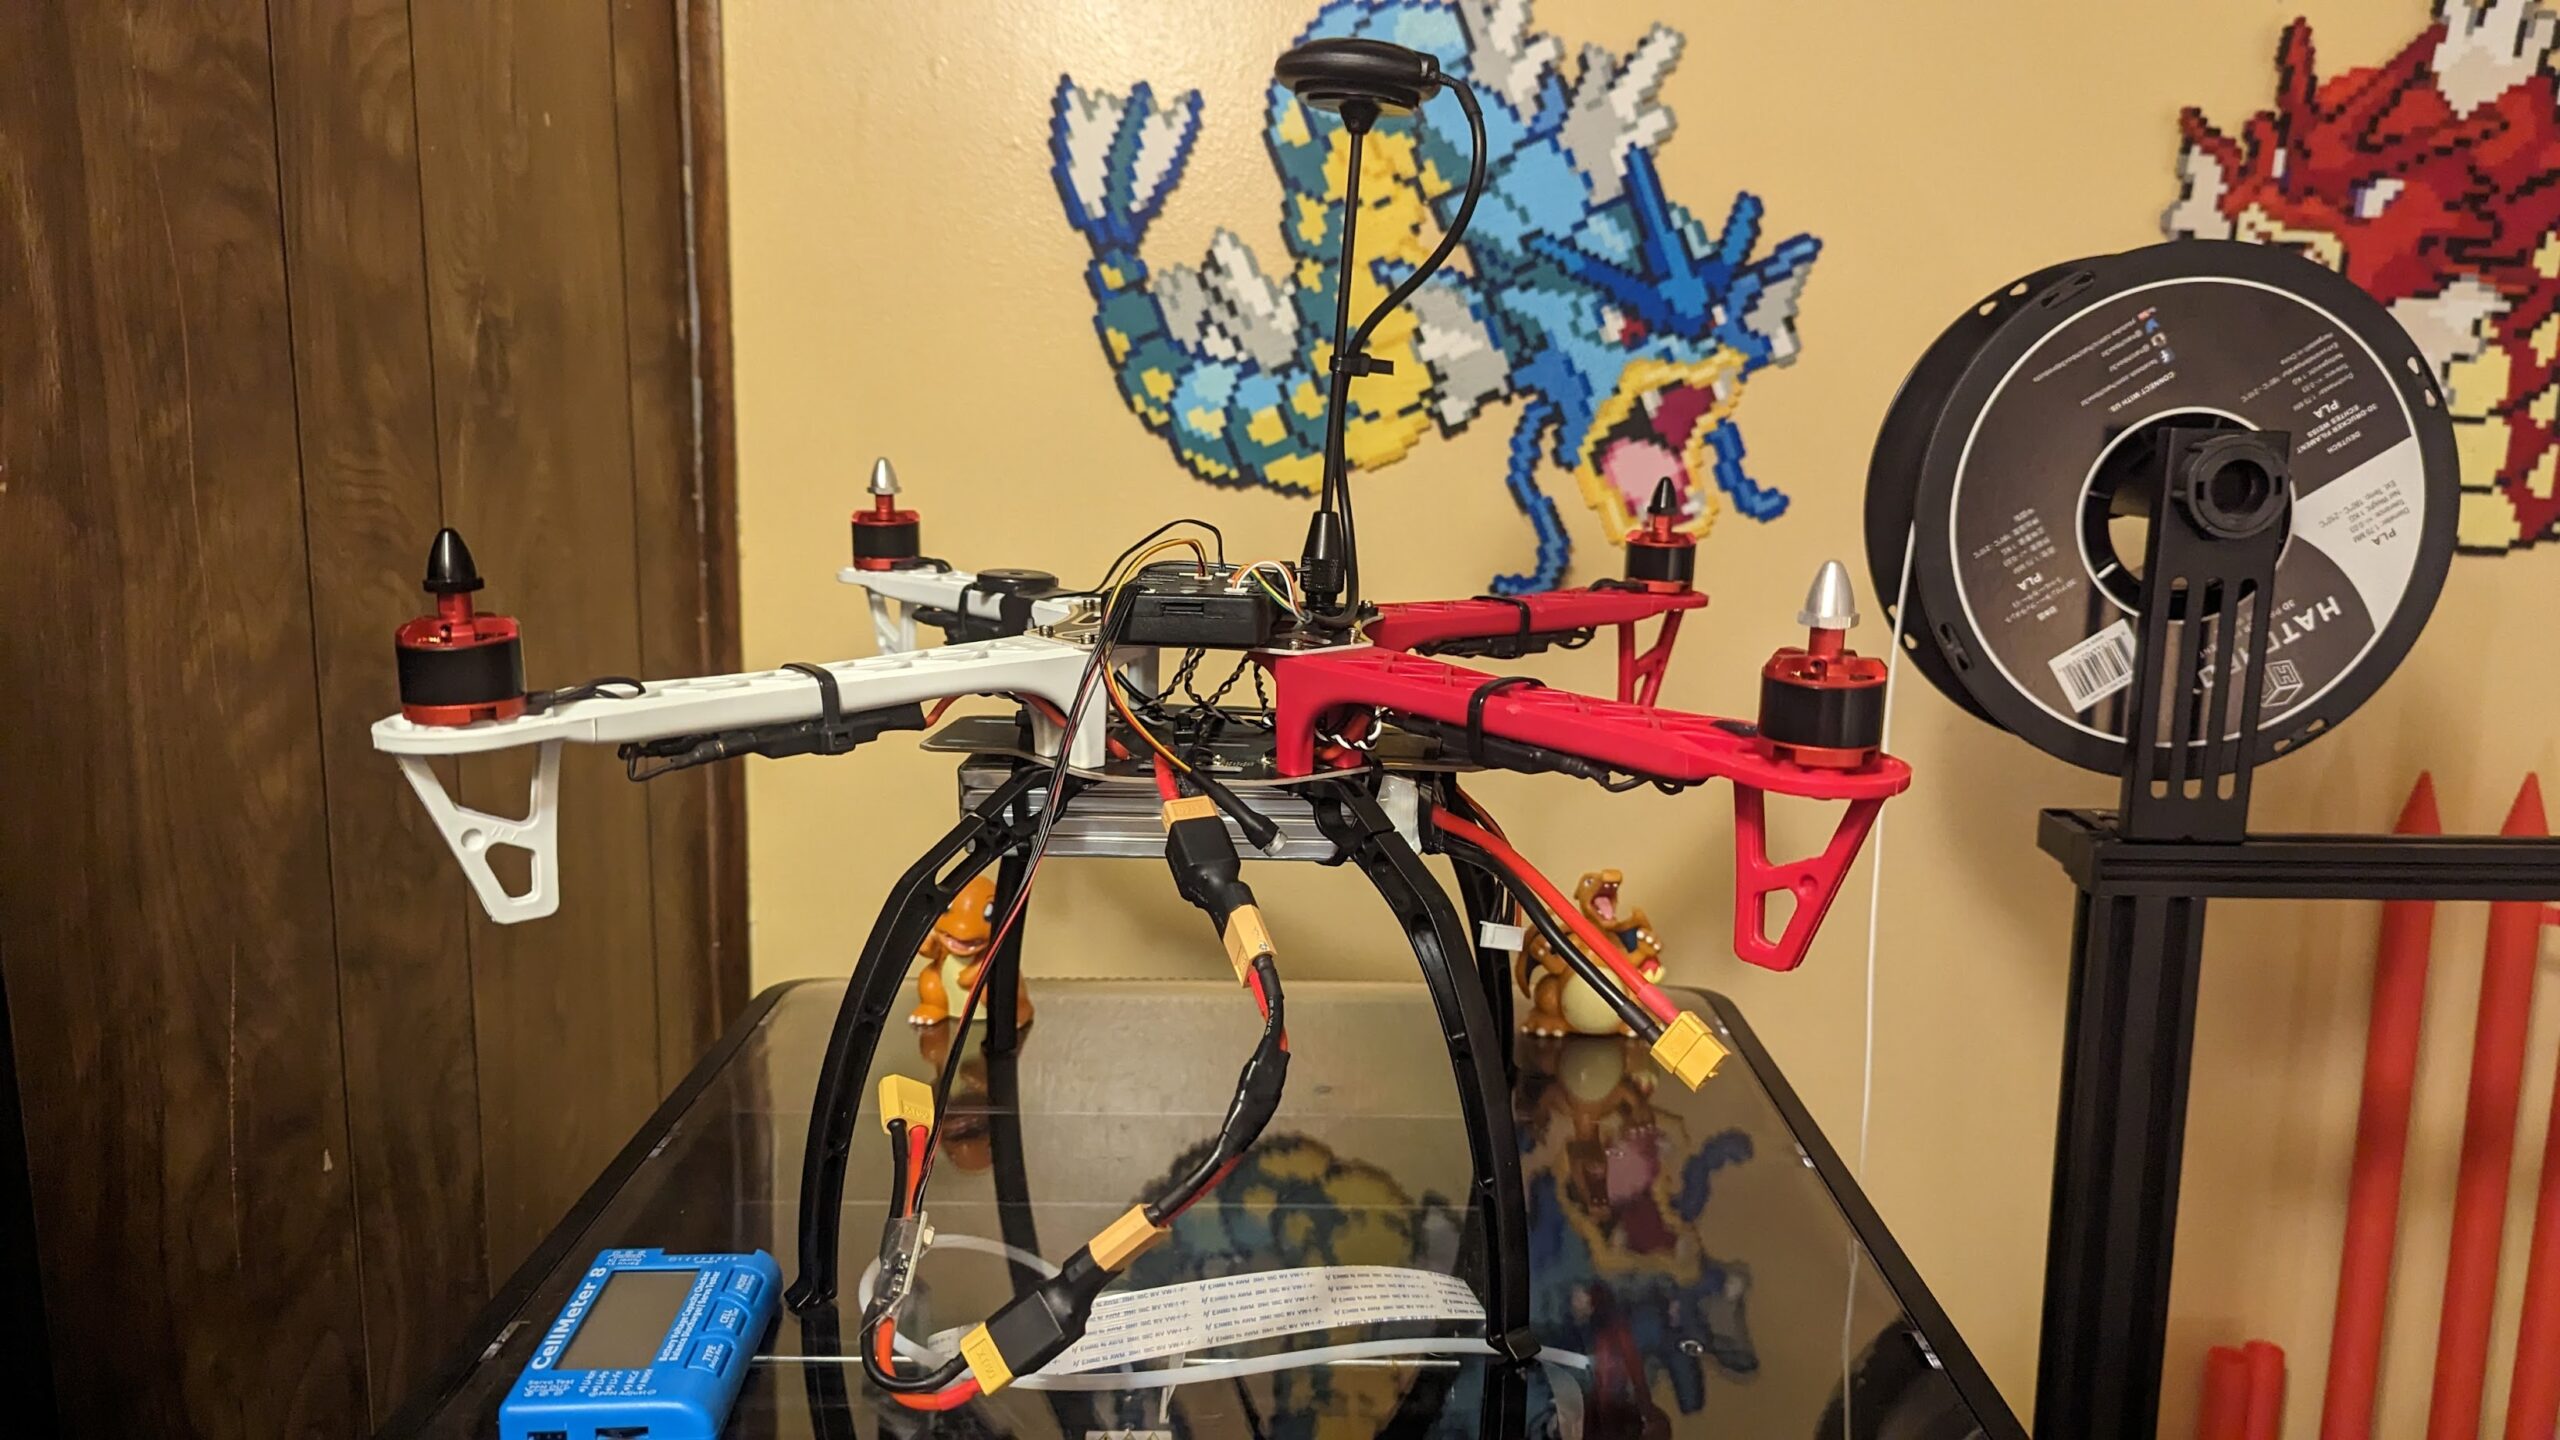
Screw the frame to the largest board with the drone legs. You can also mount the motors during this phase as well.
!!!! Do not mount the motor cables through the bottom sides or you will have trouble mounting all the screws together.
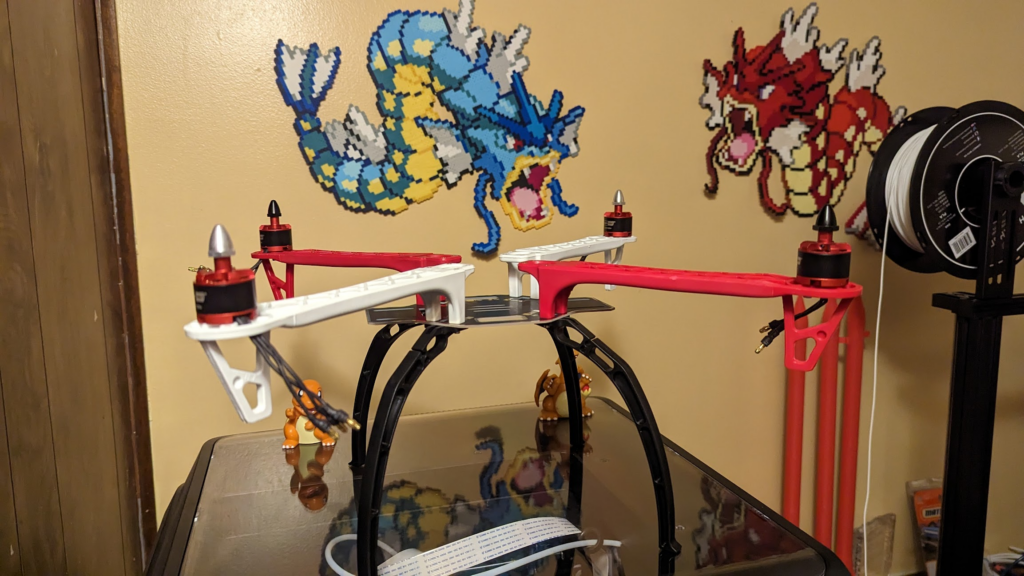
Zip tie the battery to the bottom of the frame.
Zip tie the ESCs to the bottom of the arms and plug them into the motors.
Mount and Zip tie the PixHawk controller to the top bracket. I didn’t use the vibration dampening plate yet. Will fix that later.
Mount the GPS and zip tie the cord.
Zip tie the speaker and plug it into the pixhawk.
Plug in the power button to the pixhawk
Connect the XT60 plugs to the frame and the battery.

I’m still working through the RC configuration piece. If you apply the battery to the motors and Pixhawk controller. You will notice the motors chirp alive and the pixhawk controller lights spark up.
Leave a Reply